The Heart of the Cookie
Every good cookie starts with good butter. I let mine sit out until it’s just cool and soft. Then I cream it with the sugar. This step is so important. It makes the cookies light and tender. I still laugh at that. When I was little, I thought “creaming” meant adding cream!
Next comes the peanut butter. Use your favorite kind. The smell is already amazing. This matters because your love for the ingredient bakes right into the cookie. What’s your favorite brand of peanut butter? I’d love to know.
A Little Chill Time
After mixing, the dough needs a rest in the fridge. This might seem boring. But it’s the secret to cookies that hold their shape. It lets the flour relax. Chilled dough is much easier to roll out.
I wrap my dough in wax paper. My grandson once used a whole roll on one ball! I keep the dough cold while I work. I only take out a little bit at a time. This patience makes all the difference. Do you find it hard to wait for cookie dough to chill?
Rolling and Cutting Fun
Now for the fun part. Lightly flour your counter. Roll the dough nice and thin. *Fun fact: The first peanut butter cookies were made in the 1910s. They were pressed with a fork!* You can use any shape you like. I have a squirrel cutter my grandkids love.
Place them on a parchment-lined sheet. They don’t need much space. They won’t spread much. This is why chilling matters. It gives you control. What shapes would you cut? Animals, circles, or maybe hearts?
The Magic of the Oven
Your oven should be nice and hot. I bake mine at 375 degrees. Watch them closely. They bake fast. In just 6 to 8 minutes, they turn a perfect golden brown. Doesn’t that smell amazing?
You must move them right away. Use a thin spatula to lift them onto a cooling rack. If they cool on the sheet, they get too hard. This tip saves many a cookie. I learned it from my own grandma.
Sharing the Sweetness
Let the cookies cool completely. Then you can decorate them. A little drizzle of melted chocolate is lovely. Or leave them plain. They are perfect just as they are. Store them in a tin with a tight lid.
They keep for weeks. But they never last that long at my house! Making food to share is an act of love. That’s the real recipe. Who will you share your first batch with? I always think of someone special when I bake.
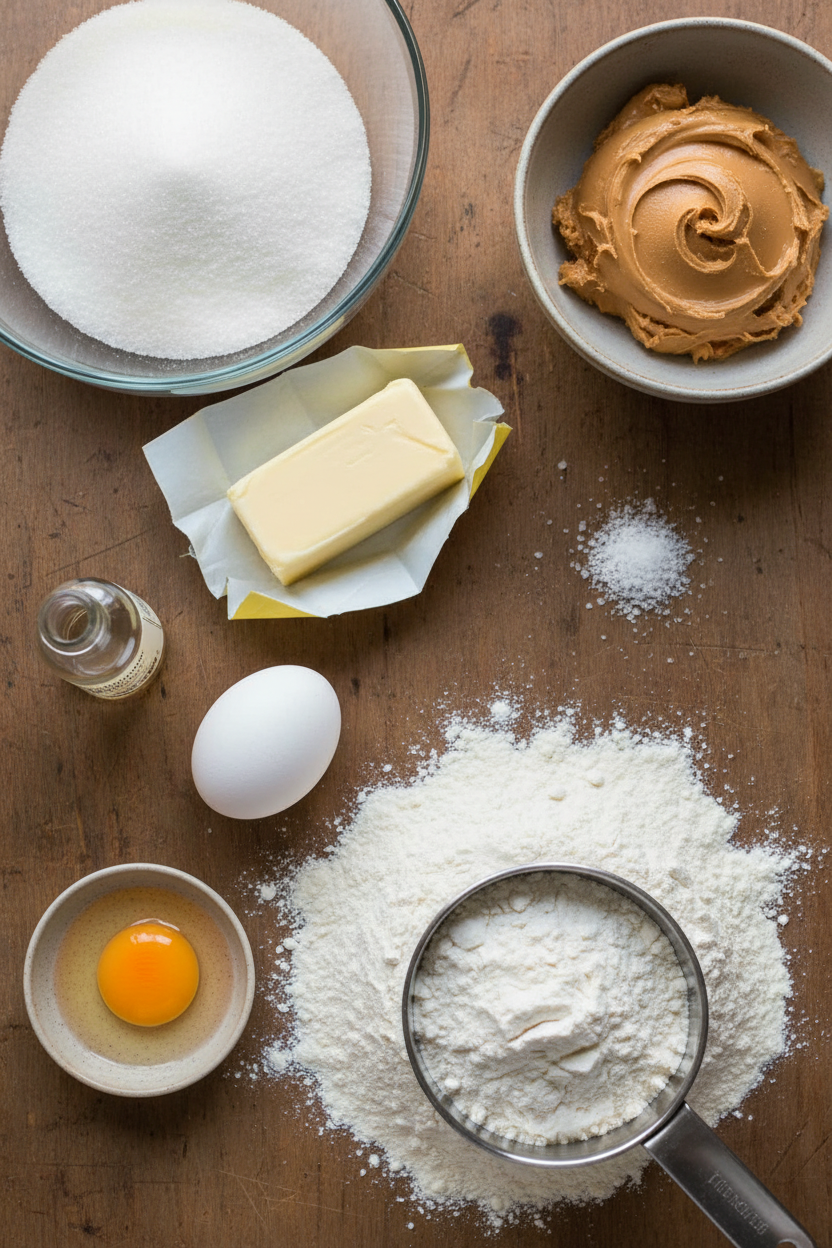
Ingredients:
| Ingredient | Amount | Notes |
|---|---|---|
| Unsalted butter | ½ pound (227 grams/2 sticks) | at cool room temperature |
| Granulated sugar | 1 cup | processed in food processor for 30 seconds, or superfine sugar |
| Peanut butter | ⅔ cup | |
| Salt | ½ teaspoon | |
| Egg | 1 whole egg plus 1 yolk | |
| Vanilla extract | 2 teaspoons | |
| Bleached all-purpose flour | 2 ½ cups | plus extra for work surface |
My Perfect Peanut Butter Cookie Story
Hello, my dear. Pull up a chair. Let’s bake my favorite cookies. This recipe is from my own grandma’s tin box. I can still see her hands working the dough. They were strong and gentle. The smell of peanut butter and vanilla takes me right back. Doesn’t that smell amazing? We’ll make them together. It’s easier than you think. Just follow these simple steps. I’ll tell you little stories as we go.
Step 1: Cream the Butter & Sugar
First, we make the dough soft and fluffy. Put your butter and sugar in a big bowl. Add the peanut butter and salt. Mix it all on medium speed. Keep going until it looks light and creamy. I used to do this by hand. My arm would get so tired! (A hard-learned tip: Your butter must be just cool, not melted. Soft butter creams up perfectly.)
Step 2: Add Eggs & Vanilla
Now, let’s add the eggs and vanilla. Crack in one egg yolk first. Mix it in well. Then add the whole egg and vanilla. Beat it until everything is one happy, smooth family. The vanilla makes the whole kitchen smell like heaven. I still laugh at that. My cat, Whiskers, always jumps on the counter for this step.
Step 3: Mix in the Flour
Time for the flour. Pour it all in. Mix on the slowest speed. Stop as soon as you see no white streaks. We don’t want tough cookies! The dough will be soft and a bit sticky. That’s just right. Quick quiz: What do we NOT want our cookies to be? Share below!
Step 4: Chill the Dough
Divide the dough in two. Wrap each half in plastic. Pop them in the fridge. They need to chill for at least an hour. This step is very important. It makes the dough easy to roll. You can even save it for baking tomorrow. I sometimes forget about it until the next day. It always turns out fine.
Step 5: Roll the Dough
Heat your oven to 375 degrees. Move your racks to the middle spots. Get out your rolling pin. We only work with one dough piece at a time. Keep the other one cold. Lightly flour your counter. Roll the dough nice and thin. Use a spatula to loosen it if it sticks.
Step 6: Cut & Bake
Now for the fun part! Cut out your shapes. Hearts, circles, or even little dogs. Place them on a parchment-lined sheet. Leave a tiny space between them. Bake for 6 to 8 minutes. Watch them turn a lovely golden brown. They smell so good right now.
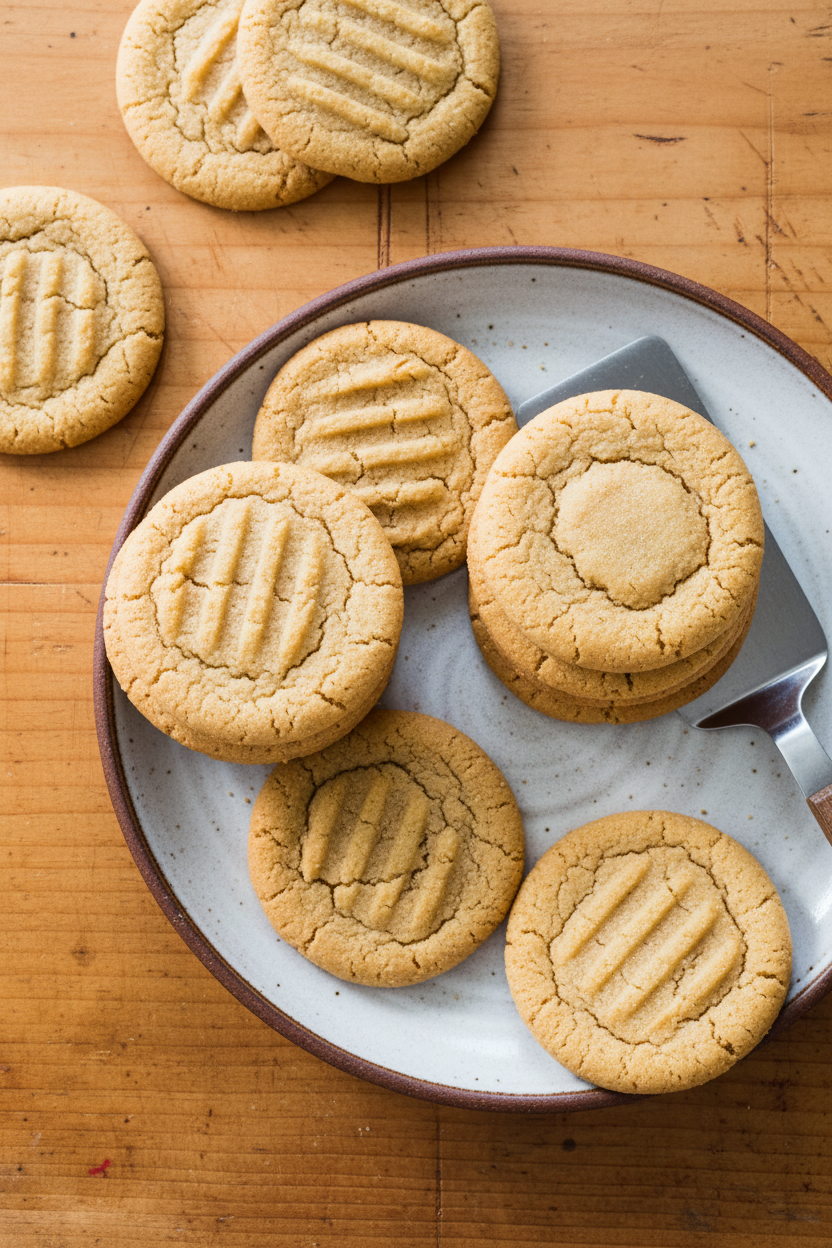
Step 7: Cool & Enjoy
Take them out of the oven. Move them to a cooling rack right away. A thin spatula is your best friend here. Let them cool completely. They will get crisp and perfect. Then repeat with the other dough half. Finally, you can decorate. Or just eat them plain. I won’t tell!
Cook Time: 6–8 minutes per batch
Total Time: About 2 hours (includes chilling)
Yield: About 3 dozen cookies
Category: Dessert, Cookies
Three Fun Twists to Try
Once you master the basic cookie, try a little twist. It makes baking an adventure. Here are three of my favorites. They are all simple and delicious.
The Chocolate Drizzle
Melt some chocolate chips. Drizzle it over your cooled cookies. Let it set. It looks so fancy.
The Jam Thumbprint
Before baking, press your thumb into each cookie. Fill the little hole with strawberry jam. It’s a sweet surprise.
The Salty-Sweet Crunch
Sprinkle a tiny bit of flaky sea salt on top before baking. It makes the peanut butter flavor sing.
Which one would you try first? Comment below!
Serving Them Up With Style
These cookies are wonderful all on their own. But sometimes, you want to make it special. For a pretty plate, stack them high on a vintage cake stand. You could also crumble one over a scoop of vanilla ice cream. That is my grandson’s favorite. It’s like a peanut butter sundae!
What to drink? A cold glass of milk is the classic choice. It’s the perfect partner. For the grown-ups, a sweet sherry or a creamy porter beer is lovely. It sips so nicely with a cookie. Which would you choose tonight?
Keeping Your Cookie Jar Full
These cookies keep beautifully. Let them cool completely first. Then store them in a tight tin. They stay fresh for weeks. I keep mine in the old blue jar. My grandkids know to look there first.
You can freeze the dough, too. Just wrap the disks well. I once forgot a disk for two months. It baked up perfectly later. This is great for surprise visitors. You can bake just a few at a time.
Batch cooking saves your future self. A little work now means treats later. It matters for busy days. You always have a sweet hug ready. Have you ever tried storing cookie dough this way? Share below!
Cookie Troubles? Let’s Fix Them
Is your dough too sticky? Chill it longer. A firm dough is easier to roll. I remember my first batch. It stuck to everything. I learned patience from that.
Do cookies spread too much? Your butter might be too warm. Cool dough bakes up taller. This matters for pretty shapes. Good structure means a better bite.
Are they too tough? You might have over-mixed the flour. Mix just until it disappears. Gentle handling keeps cookies tender. This builds your cooking confidence. You learn to feel the dough. Which of these problems have you run into before?
Your Cookie Questions, Answered
Q: Can I make these gluten-free? A: Yes. Use a good gluten-free flour blend. Add a little xanthan gum.
Q: How far ahead can I make dough? A: Make it up to two days ahead. Keep it wrapped in the fridge.
Q: Can I use crunchy peanut butter? A: Absolutely. It adds a nice little crunch. I often do this myself.
Q: Can I double the recipe? A: You sure can. It’s perfect for a big cookie exchange.
Q: Any fun decorating tips? A: A drizzle of melted chocolate is lovely. Or a sprinkle of sea salt. *Fun fact: Peanuts are not nuts. They are legumes, like beans!* Which tip will you try first?
From My Kitchen to Yours
I hope you love baking these. The smell fills a home with joy. It is one of my favorite things. Share them with someone you love.
I would love to hear from you. Tell me about your baking adventure. Have you tried this recipe? Give your experience in the comments. Your stories make my day brighter.
Happy cooking!
—Grace Ellington.
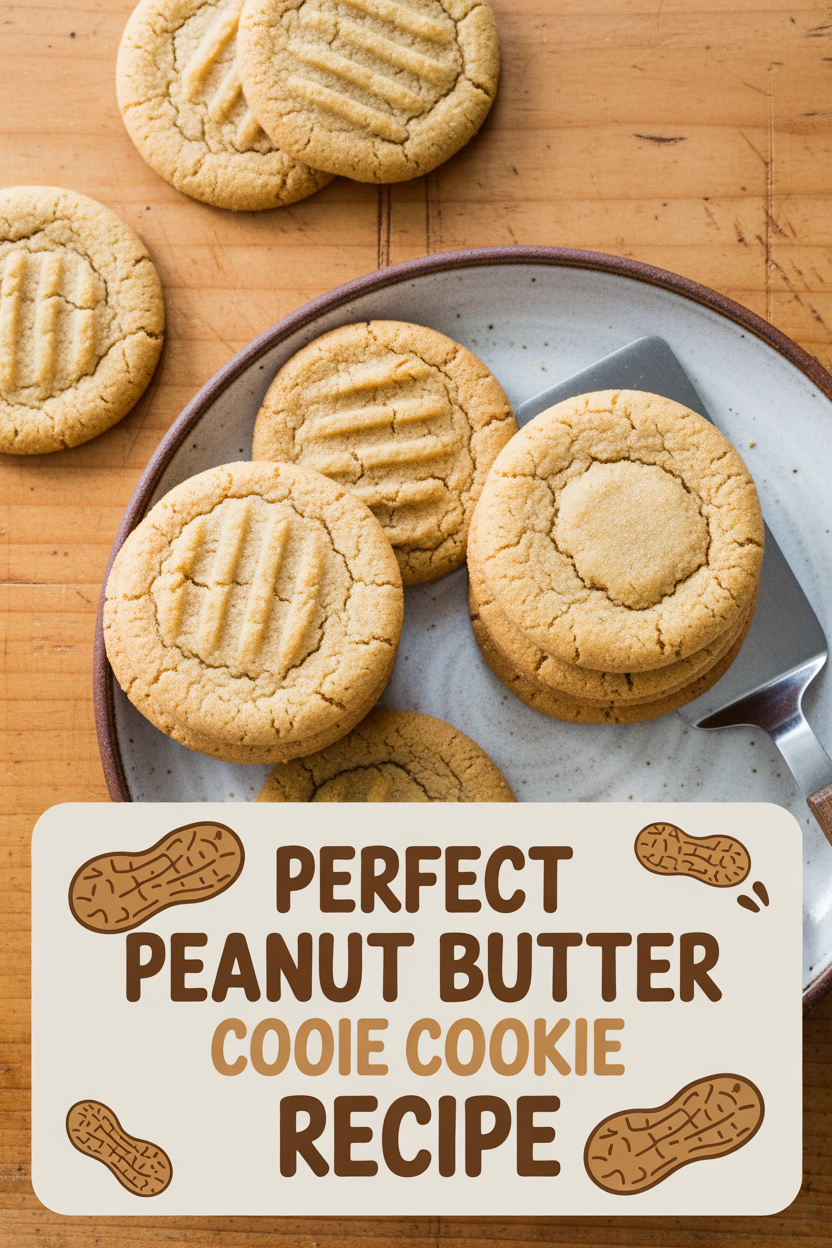

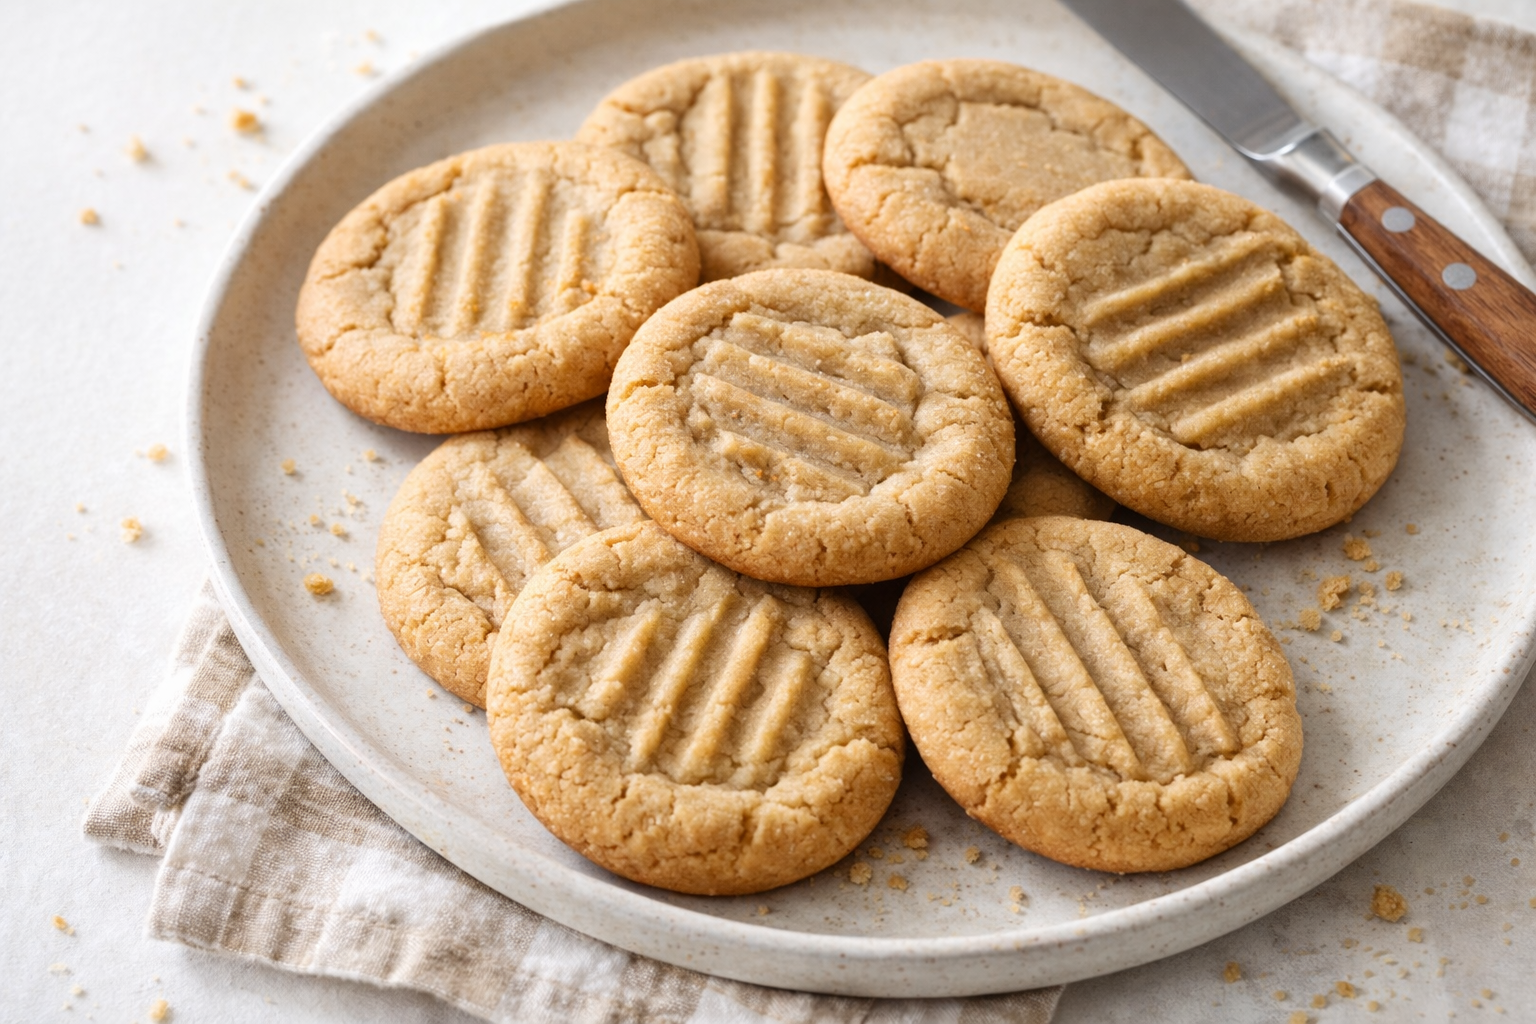
Perfect Peanut Butter Cookie Recipe
Description
Classic, buttery, and rich with peanut flavor, these cookies are rolled, cut, and baked to golden perfection.
Ingredients
Instructions
- Cream butter, sugar, peanut butter, and salt in workbowl of electric mixer at medium speed until light and fluffy.
- Add yolk, beat well then add whole egg and vanilla; continue beating until well incorporated.
- Add flour; beat over low speed until flour is just mixed.
- Divide dough in half and wrap in plastic wrap. Refrigerate until firm, at least 1 hour. (Can be refrigerated up to 2 days or double-wrapped and frozen 1 month.)
- Adjust oven racks to upper and lower middle positions. Heat oven to 375 degrees.
- Remove one disk of dough from refrigerator and cut in half. Return unused portion of dough to refrigerator.
- Lightly flour work surface; roll dough to 1/8-inch thick, using offset spatula to loosen dough. Sprinkle surface lightly with flour as needed to keep dough from sticking.
- Cut or form dough into desired shape. Place dough shapes 1/2-inch apart on parchment-lined cookie sheet.
- Bake, rotating cookie sheets halfway through baking if necessary, until evenly golden brown, 6 to 8 minutes.
- Use thin-bladed spatula to immediately transfer cookies to cooling rack. Cool to room temperature.
- Repeat rolling, cutting, and baking remaining dough.
- Decorate cooled cookies, if desired, and transfer to airtight container (can be stored up to 3 weeks).
Notes
- Nutritional information is an estimate based on a yield of 36 cookies. For best results, ensure butter is at cool room temperature for proper creaming.

