My Chocolate Mistake
I once tried to make these without letting the dough rest. What a mess! The cookies spread into one giant, flat pan-cake. I still laugh at that. Now I never skip the rest. It lets the flours get cozy with the wet stuff.
This matters because good cookies need patience. That 30-minute wait makes all the difference. Your cookies will be puffy, not flat. Have you ever had a baking mistake turn into a good lesson?
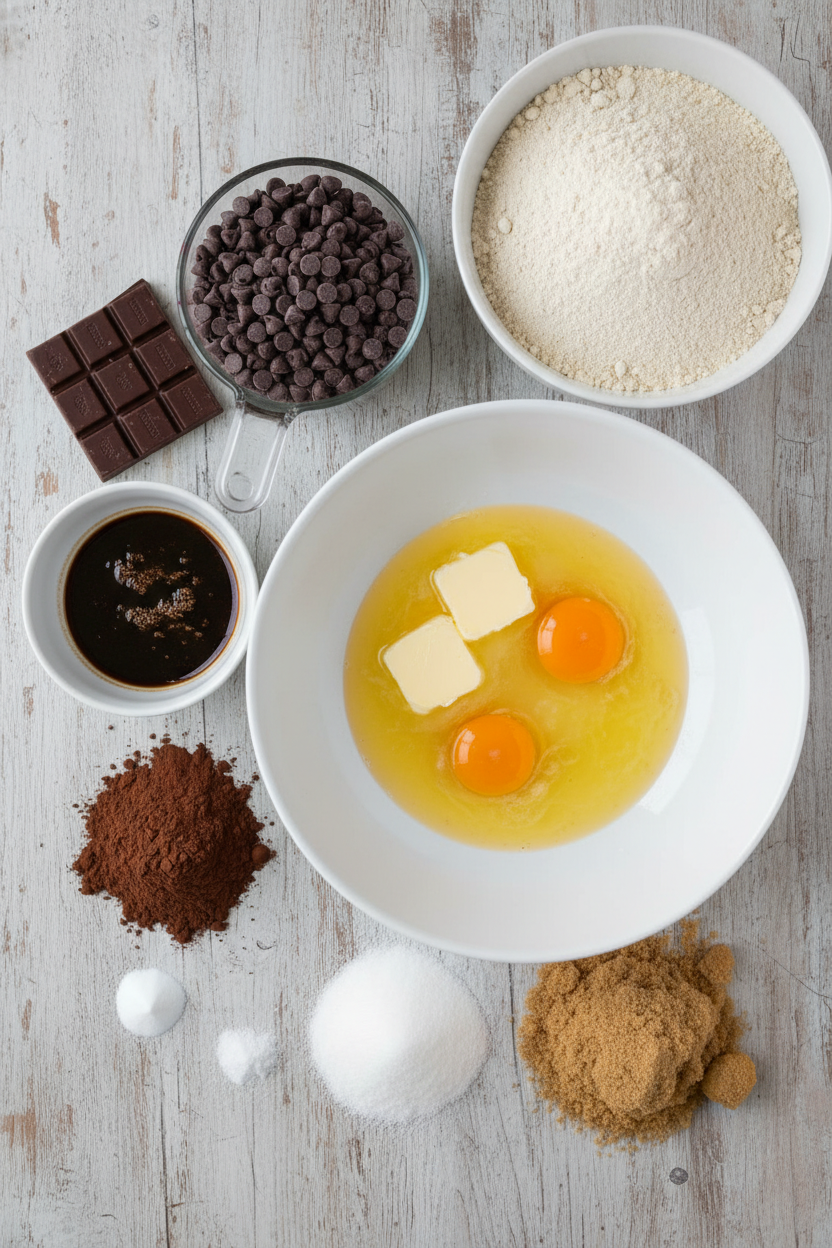
Why These Ingredients Work
We use two kinds of chocolate here. You melt one and chip the other. That gives a double chocolate punch. The espresso powder is my little secret. It makes the chocolate taste even more chocolatey. You won’t taste coffee, I promise.
*Fun fact*: The xanthan gum helps hold everything together. It does the job gluten usually does. This is why the recipe works so well. Do you have a favorite secret ingredient you like to add?
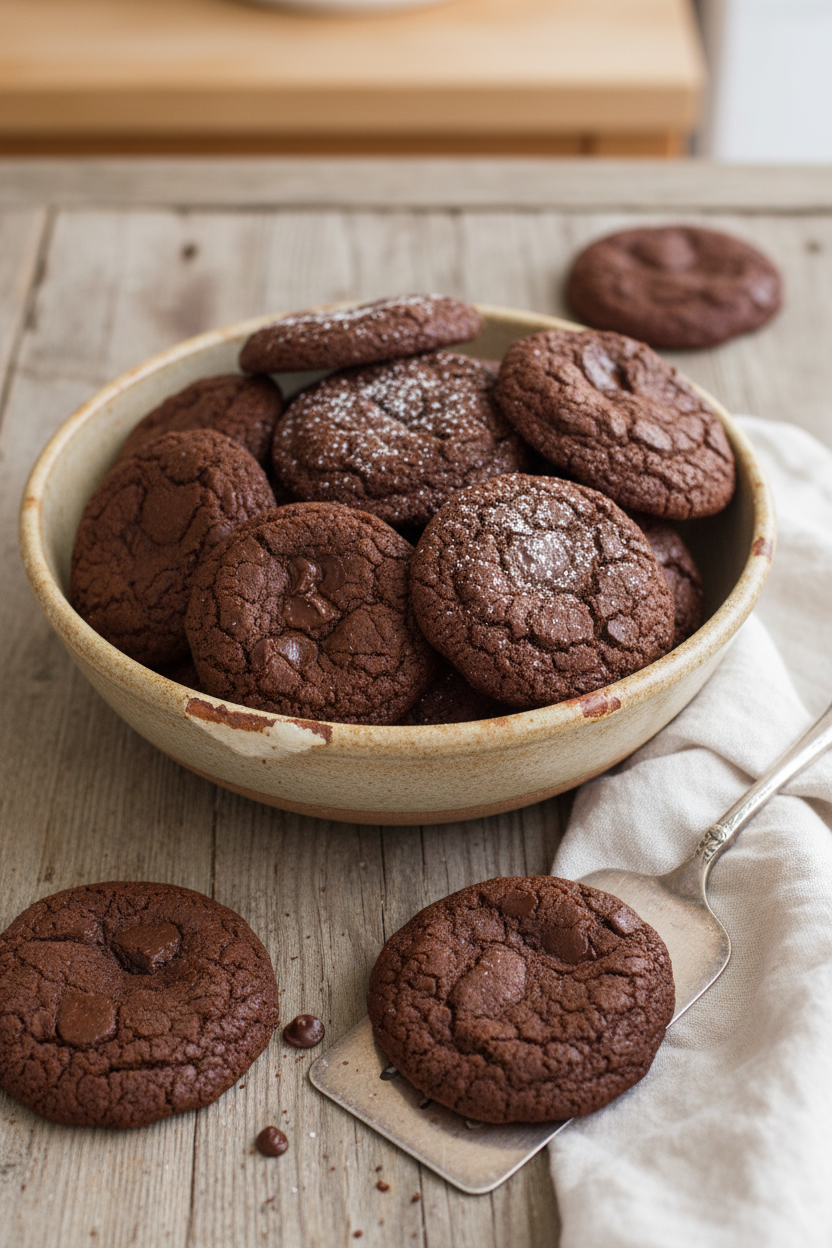
The Magic of Cracks
When you bake these, watch for the cracks. They will appear on top. The centers will still look soft. This is perfect. It means you will get a fudgy middle. Doesn’t that smell amazing? Take them out even if you think they’re too soft.
Letting them cool on the sheet is key. They keep cooking from the pan’s heat. This matters for texture. A gooey center needs a gentle finish. Do you prefer your cookies soft and chewy or crisp?
Sharing Warm Cookies
My grandkids know the sound of my kitchen timer. They come running for a warm cookie. We sit at the table and the chips are still melty. It’s the best part of my day. Food is about these small, warm moments.
This matters because sharing food is sharing love. A simple cookie can make someone’s day better. It’s a little gift from your kitchen. What’s your favorite memory of eating a warm, fresh-baked treat?
Your Turn to Bake
Now you have the recipe. Remember to measure your flour carefully. Use a spoon to fill the cup, then level it off. And please, let your dough rest. I learned that the hard way so you don’t have to.
Roll the dough into nice balls. Give them space on the sheet. They like room to grow. Then just watch for those beautiful cracks. You can do this. I believe in you.
Ingredients:
| Ingredient | Amount | Notes |
|---|---|---|
| Semisweet chocolate, chopped | 12 ounces (340 grams) | |
| America’s Test Kitchen All-Purpose Gluten-Free Flour Blend | 4 ounces (113 grams; ¾ cup plus 2 tablespoons) | |
| Unsweetened cocoa powder | ¾ ounce (21 grams/¼ cup) | |
| Baking soda | ½ teaspoon | |
| Salt | ½ teaspoon | |
| Xanthan gum | ¼ teaspoon | |
| Light brown sugar | ¾ cup packed (5 ¼ ounces/149 grams) | |
| Granulated sugar | ¼ cup (1 ¾ ounces/50 grams) | |
| Large eggs | 2 | |
| Vegetable oil | 5 tablespoons | |
| Unsalted butter | 2 tablespoons | Melted and cooled |
| Vanilla extract | 1 teaspoon | |
| Instant espresso powder | ½ teaspoon | |
| Bittersweet chocolate chips | 9 ounces (255 grams/1 ½ cups) |
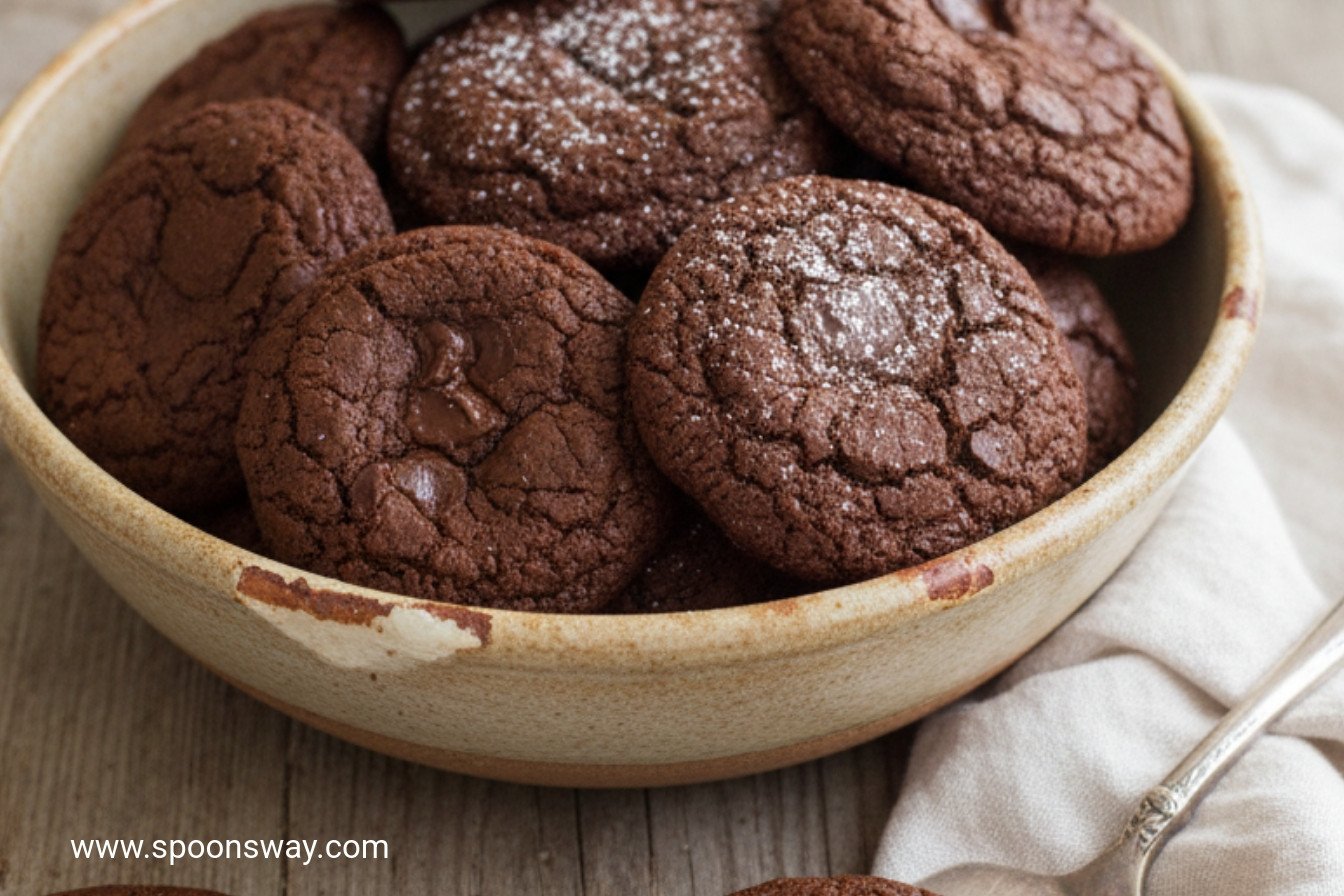
My Secret for the Fudgiest Gluten-Free Chocolate Cookies
Hello, my dear. Come sit. The oven is warm. Today, we are making magic. We are making my famous fudgy chocolate cookies. They are gluten-free, but you would never know it. My grandson says they taste like a brownie in cookie form. I still laugh at that. He is so right.
These cookies are a little project. But a fun one. The secret is letting the dough take a nap. It rests for thirty minutes. This helps all the flavors become friends. Doesn’t that smell amazing? That’s the melted chocolate. Use good chocolate, dear. It makes all the difference.
Now, let’s get our hands busy. Here is exactly what to do.
Step 1: First, melt your chopped chocolate. Go slow. Use half power in the microwave. Stir it often. We don’t want it to burn. Let it cool a bit. In another bowl, whisk your dry things. Flour, cocoa, baking soda, salt, and that xanthan gum. Set this bowl aside for now.
Step 2: Grab a big bowl. Whisk the sugars and eggs together. Add the oil, melted butter, vanilla, and espresso powder. The espresso just makes the chocolate sing. Now, whisk in your cooled chocolate. It will look so glossy. Stir in the dry mix gently. Then, fold in those chocolate chips. (Hard-learned tip: Your dough will be very soft and sticky. That’s perfect! Don’t add more flour.) Cover the bowl. Let it rest for 30 minutes. Patience is a baker’s best tool.
Step 3: Heat your oven to 350 degrees. Line your baking sheets. Scoop the dough. Roll it into balls. I use a generous two tablespoons. Space them well apart. They like to spread and make friends. Quick quiz: Why do we let the dough rest? Share below!
Step 4: Bake just one sheet at a time. This gives them even heat. Bake for 12 to 14 minutes. They will look puffy and cracked. The centers will seem soft. This is good! Take them out. Let them cool on the sheet for 5 minutes. Then move them to a rack. The hardest part is waiting to eat one.
Cook Time: 12–14 minutes per batch
Total Time: About 1 hour 15 minutes
Yield: About 24 cookies
Category: Dessert, Cookies
Three Fun Twists to Make Them Your Own
Once you master the classic, try a little twist. It’s like playing dress-up with your cookies. Here are three ideas I love.
Sea Salt Sparkle. Right when they come out of the oven, sprinkle a tiny pinch of flaky sea salt on top. It’s a wonderful little salty surprise.
Peppermint Party. Swap the vanilla for peppermint extract. Fold in crushed candy canes with the chips. Perfect for a snowy day.
Nutty Buddy. Add a half cup of chopped toasted walnuts or pecans to the dough. It gives a lovely crunch. Which one would you try first? Comment below!
The Perfect Way to Serve Your Cookies
A cookie is a joy all by itself. But sometimes, you want to make it special. For a real treat, serve one warm with a scoop of vanilla ice cream. The ice cream melts into the cracks. It’s heavenly. Or, pack them in a little box with a bow. Give them to a friend who needs a smile.
What to drink? A cold glass of milk is always the right answer. For the grown-ups, a small glass of ruby port wine is lovely. It sips like liquid chocolate. Which would you choose tonight?
Keeping Your Cookies Fudgy and Fresh
These cookies are best the day you bake them. But I always make a double batch. Let them cool completely first. Then store them in a tight tin at room temperature.
You can freeze the dough balls, too. I scoop them onto a tray and freeze solid. Then I pop them in a bag. This matters because you can bake just two cookies anytime. Fresh cookies chase away a bad day.
I once reheated a cookie for 10 seconds. It was like magic. The chocolate got soft and warm again. Have you ever tried storing it this way? Share below!
Cookie Troubles? Here Are Simple Fixes
First, your cookies spread too much. Your dough was probably too warm. Let it rest the full 30 minutes. This helps the flour soak up the wet ingredients.
Second, the cookies are cakey, not fudgy. You likely over-baked them. Pull them out when centers look soft. They firm up as they cool on the sheet.
Third, they taste bland. Do not skip the espresso powder. I remember when I left it out once. The chocolate flavor fell flat. That tiny bit makes the chocolate sing. Which of these problems have you run into before?
Your Quick Cookie Questions, Answered
Q: Can I use a different gluten-free flour? A: I only tested this blend. Others may change the texture.
Q: Can I make the dough ahead? A: Yes! Keep it covered in the fridge for two days.
Q: What can I use instead of espresso powder? A: Use instant coffee granules. Just crush them into a powder.
Q: Can I halve the recipe? A: You can. But why would you want fewer cookies?
Q: Any optional add-ins? A: A pinch of flaky sea salt on top is lovely. *Fun fact: Salt makes sweet things taste even sweeter.* Which tip will you try first?
From My Kitchen to Yours
I hope you love these cookies as much as I do. Baking is about sharing joy. It is also about creating small, sweet memories.
I would love to hear about your baking adventure. Did your family gobble them up? Have you tried this recipe? Give your experience in the comments below. Your stories are my favorite thing to read.
Happy cooking!
—Grace Ellington
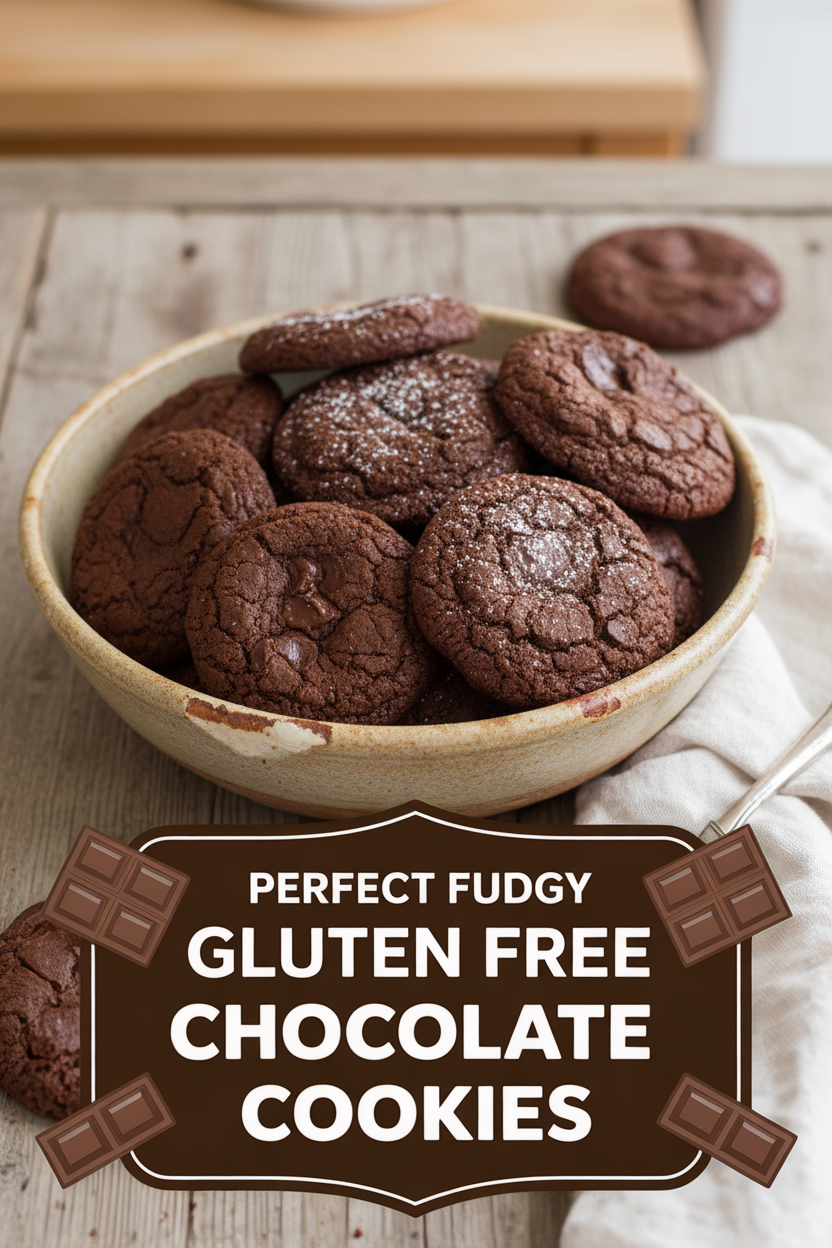
Perfect Fudgy Gluten Free Chocolate Cookies
Description
Indulge in rich, fudgy, and perfectly chewy gluten-free chocolate cookies loaded with chocolate chips.
Ingredients
Instructions
- Microwave semisweet chocolate in bowl at 50 percent power, stirring occasionally, until melted, 2 to 4 minutes; let cool slightly. Whisk flour blend, cocoa, baking soda, salt, and xanthan gum together in bowl; set aside.
- Whisk brown sugar, granulated sugar, eggs, oil, melted butter, vanilla, and espresso powder in large bowl until well combined and smooth, then whisk in cooled chocolate. Stir in flour mixture with rubber spatula until soft, homogeneous dough forms. Fold in chocolate chips. Cover bowl with plastic wrap and let dough rest for 30 minutes. (Dough will be sticky and soft.)
- Adjust oven rack to middle position and heat oven to 350 degrees. Line 2 baking sheets with parchment paper. Working with 2 generous tablespoons dough at a time, roll into balls and space them 2 inches apart on prepared sheets.
- Bake cookies, 1 sheet at a time, until puffed and cracked and edges have begun to set but centers are still soft (cookies will look raw between cracks and seem underdone), 12 to 14 minutes, rotating sheet halfway through baking. Let cookies cool on sheet for 5 minutes, then transfer to wire rack. Serve warm or at room temperature.
Notes
- Nutritional information is referenced in the text with ‘View Nutritional Information’ but the specific nutrition facts are not provided in the given text. Estimated calories are based on a yield of 24 cookies.

