The Magic of a Homemade Mix
I love making my own mixes. It feels like a little kitchen secret. You know exactly what’s inside. No funny business.
This chocolate pudding mix is my favorite. It waits patiently in the cupboard. It is ready for a sweet emergency. I feel so clever when I use it.
A Silky, Chocolatey Dream
Making the pudding is the best part. You stir milk and your mix in a pot. It starts thin and watery. But don’t you worry.
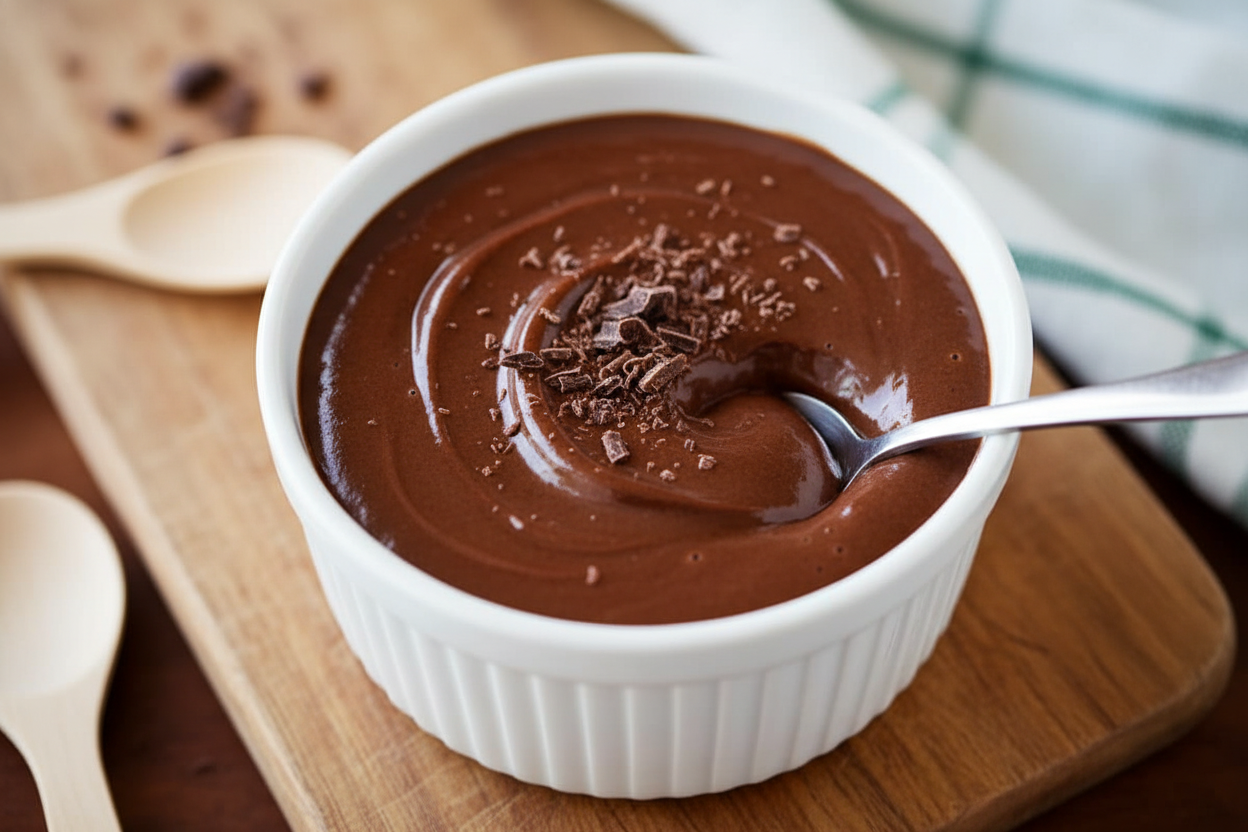
Heat works its magic. The mixture gets thick and glossy. It coats the spoon perfectly. Doesn’t that smell amazing? It is pure chocolate comfort.
Why This Matters
This matters because you made it. A store-bought cup is fine. But your own pudding is a hug in a bowl. It tastes like care.
It also matters for learning. You see how simple ingredients change. You watch them become something new. That is real kitchen magic.
A Little Story for You
My grandson once tried to eat it hot. He was too excited to wait. He got a chocolate mustache. I still laugh at that.
Now he knows the secret. The waiting is important. The fridge makes it perfect. The cold makes it set up nice and thick.
Your Turn in the Kitchen
What will you put on your pudding? I like a little whipped cream. Some like sprinkles or a strawberry. Tell me your favorite topping.
Do you have a food memory with a grandparent? I would love to hear it. Sharing stories makes food taste even better.
A Fun Fact to Share
Here is a fun fact for you. Pudding has been around for ages! Long ago, it was often a savory sausage. Isn’t that funny? Our sweet, creamy dessert has a very different cousin.
So, will you try this recipe? Will you make the big batch of mix? It makes a wonderful gift for a friend. Let me know how it goes.
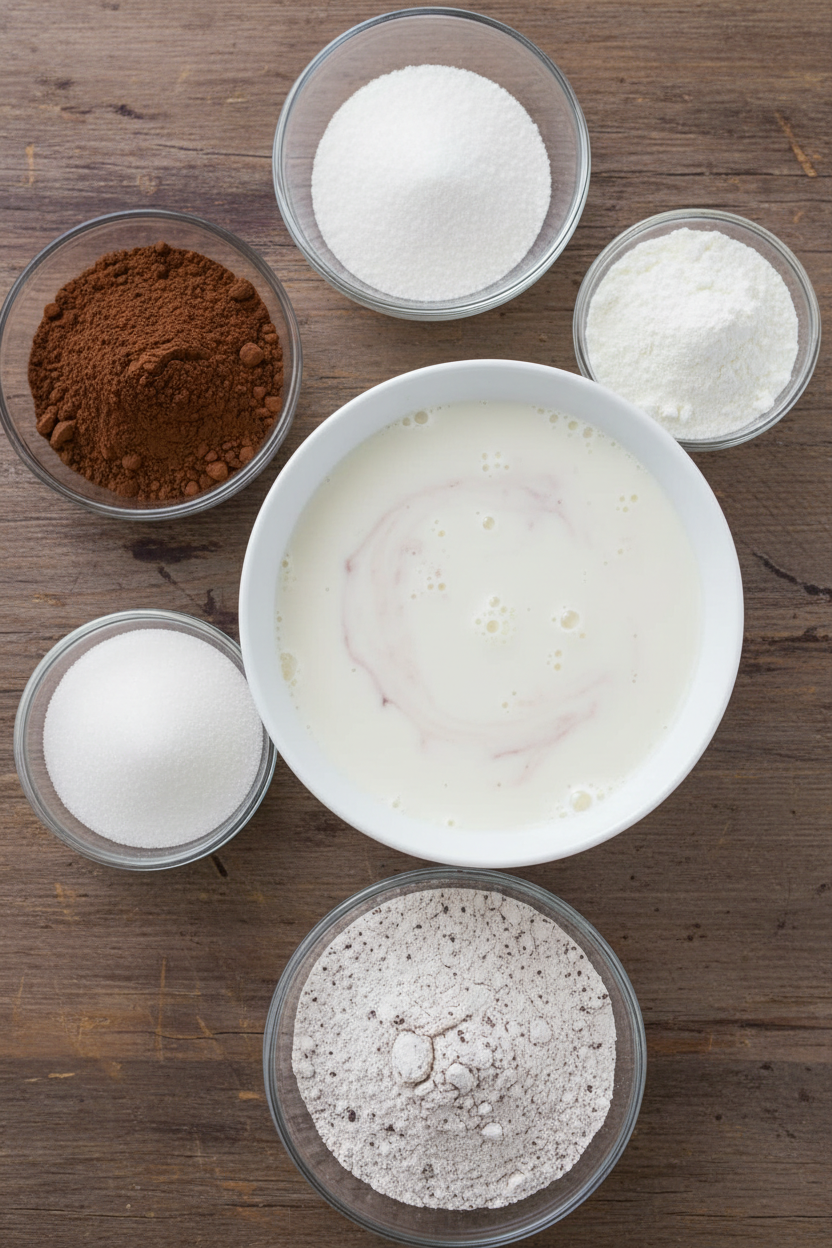
Ingredients:
| Ingredient | Amount | Notes |
|---|---|---|
| Sugar | 1 ¼ cups | For the pudding mix |
| Corn starch | 1 cup | For the pudding mix |
| Instant dry milk powder | 1 cup | For the pudding mix |
| Unsweetened cocoa powder | ¼ cup | For the pudding mix |
| Whole milk | 2 cups | To make the pudding |
| Instant chocolate pudding mix | ½ cup | Made from the ingredients above |
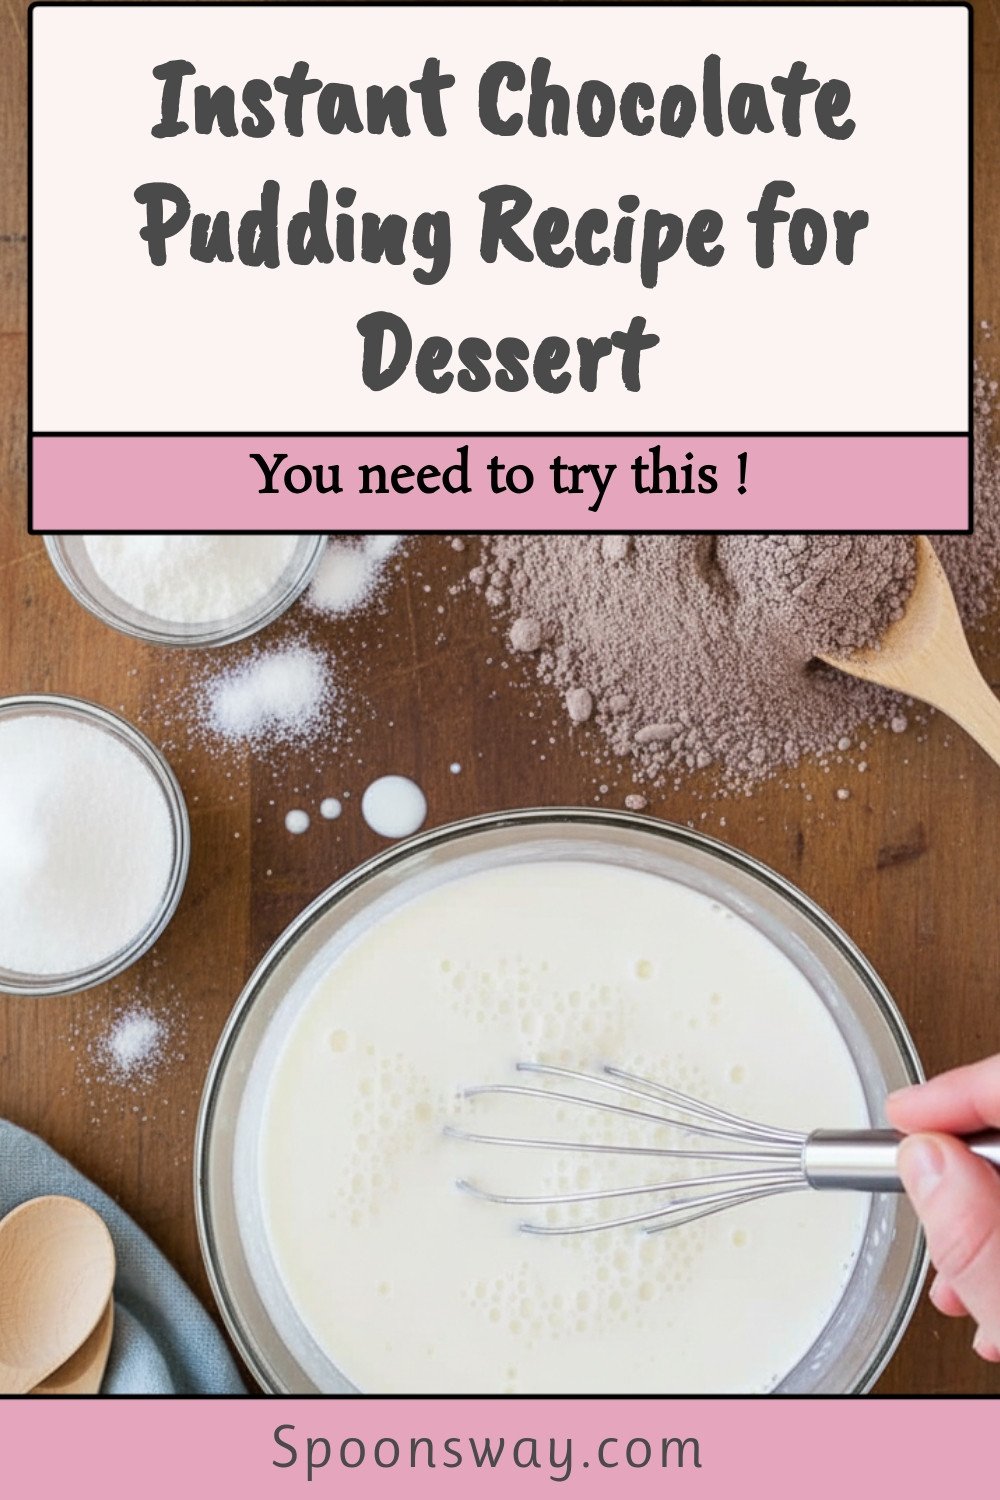
My Homemade Chocolate Pudding Mix
Hello, my dear! Come sit at the table. I want to share my chocolate pudding secret. It’s better than the box. I promise. Making your own mix is like a little kitchen magic trick. My grandson, Leo, calls it “Grandma’s Chocolate Dust.” Doesn’t that sound wonderful? We keep a jar of it in the pantry. It’s ready for any sweet-tooth emergency. Let’s make some together. The smell alone will make you smile.
First, we make the magic mix. You’ll need a big bowl and a sieve. A sieve looks like a little metal net. It keeps all the lumps out. Trust me, nobody wants a lumpy pudding. I still laugh at the time I forgot to sift. We had little floury surprises in our dessert! Now, I always sift. It makes the mix so smooth and light.
Step 1: Grab your fine-mesh sieve and a large mixing bowl. Hold the sieve over the bowl. Pour your sugar into the sieve first. Gently tap the side to sift it through. This catches any hard bits. See how fine and fluffy it looks? Now do the same with the corn starch, milk powder, and cocoa. Whisk it all together until it’s one beautiful, chocolatey color. Step 2: Find a nice, clean jar with a tight lid. A mason jar works perfectly. Carefully pour your pudding mix into the jar. Seal it up tight! This keeps the mix fresh for your next craving. Write “Magic Chocolate Dust” on the label if you like. I always do. Store it in your pantry, away from any steam. (My hard-learned tip: Always whisk the dry mix one more time before you scoop. The heavy cocoa can sink to the bottom!) Step 3: Now, let’s make the pudding! Pour two cups of cold milk into a saucepan. Use whole milk for the creamiest treat. Scoop out ½ cup of your homemade mix. Whisk it right into the cold milk. Keep whisking until no dry spots remain. This is the most important part. Can you guess why? Why do we start with cold milk? Share below! Step 4: Place the saucepan on the stove. Turn the heat to medium. Now, stir gently but constantly. Use a wooden spoon. I love the sound it makes. You’ll see little bubbles start to pop up. Once it reaches a full, rolling boil, let it bubble for one whole minute. Keep stirring! This cooks the corn starch so it thickens nicely. Step 5: After a minute, turn the heat down to low. Let it simmer for about 10 minutes. You must keep stirring. Think of it as a little arm workout for a big reward. The pudding will get thicker and glossier. When it coats the back of your spoon, it’s done. Pour it into a serving bowl. I still use my old yellow bowl. Step 6: This next step is my secret for no skin. Tear off a piece of plastic wrap. Press it directly onto the hot pudding’s surface. This stops a rubbery skin from forming. I know some people love the skin. I am not one of those people! Let the bowl cool on the counter. Then pop it in the fridge. It gets even thicker and colder. The waiting is the hardest part. Cook Time: 15 minutesTotal Time: 25 minutes (plus chilling)
Yield: About 4 servings
Category: Dessert, Snack
Three Fun Twists to Try
Once you master the basic pudding, you can play! Here are my favorite ways to dress it up. These are so simple, but they feel so fancy. It’s like giving your pudding a little party hat.
Mocha Dream: Whisk a teaspoon of instant coffee into the dry mix. It makes the chocolate taste deeper and richer. Perfect for a cozy afternoon.Peanut Butter Swirl: Let the hot pudding cool for five minutes. Then, swirl in two spoonfuls of creamy peanut butter. You get lovely, melty ribbons.
Minty Fresh: Add a few drops of peppermint extract to the milk. Top with crushed candy canes anytime of year. It’s so refreshing!
Which one would you try first? Comment below! I think I’d choose the peanut butter swirl tonight.
Serving It Up With Style
This pudding is happy in a simple bowl. But sometimes, we want to make it special. For a birthday, I layer it in a glass with whipped cream and crushed cookies. My grandkids love seeing the stripes. You could also pour it into little teacups for a tea party. So charming!
For a drink, a cold glass of milk is always the classic choice. It just goes together. For the grown-ups, a small glass of cream sherry is a lovely match. It’s sweet and nutty. Sip it slowly after a spoonful of pudding. Which would you choose tonight? The milk or the sherry? I think I hear the fridge calling my name.

Keeping Your Pudding Perfect
Fresh pudding is a lovely treat. But leftovers are a gift to your future self. Just cover the bowl tightly. Press plastic wrap right on the pudding’s surface. This stops a weird skin from forming.
It will keep in the fridge for about four days. You can also freeze it for a month. Thaw it slowly in the fridge. I once forgot a bowl in the back. It was still good a week later! What a happy surprise.
Making a big batch saves time later. Double the recipe and store it in small cups. Then you have a quick dessert ready. This matters because easy treats make busy days sweeter. Have you ever tried storing it this way? Share below!
Pudding Problems? Easy Fixes!
Sometimes pudding doesn’t thicken. This usually means it didn’t boil long enough. Keep stirring over the heat for the full minute. It will get there, I promise. I remember when mine stayed soupy. I just cooked it a bit longer.
Lumpy pudding is another common issue. Always sift your dry mix first. Whisk it into the milk very slowly. Getting a smooth texture matters. It makes the pudding feel extra special and silky.
Is your pudding too sweet or not chocolatey enough? You can fix that next time. Use a little less sugar or more cocoa. Tasting as you cook builds your confidence. You learn what you like best. Which of these problems have you run into before?
Your Pudding Questions, Answered
Q: Is this pudding gluten-free?
A: Yes, if your cornstarch is gluten-free. Always check the label.
Q: Can I make it ahead?
A: Absolutely! Make it a day before. The flavor gets even better.
Q: What if I don’t have dry milk?
A: You can leave it out. Just use ½ cup of the mix with 2 cups of milk.
Q: Can I make a smaller batch?
A: Of course. Just use half of everything. It works perfectly.
Q: Any fun extras?
A: Try a tiny pinch of salt. Fun fact: Salt makes chocolate taste more chocolatey! Which tip will you try first?
From My Kitchen to Yours
I hope you love this chocolate pudding. It reminds me of making treats with my grandkids. The kitchen is always full of laughter. I would love to see your creations.
Sharing food stories connects us all. It turns a simple recipe into a happy memory. So please, tell me about your kitchen adventures. Have you tried this recipe? Tag us on Pinterest!
Happy cooking!
—Grace Ellington.
Instant Chocolate Pudding Recipe for Dessert
Description
Make your own instant chocolate pudding mix and whip up a rich, creamy dessert in minutes. Perfect for a quick and satisfying sweet treat.
Ingredients
CHOCOLATE PUDDING MIX
TO MAKE CHOCOLATE PUDDING
Instructions
- CHOCOLATE PUDDING MIX: Place a fine-mesh sieve over a large bowl. Sift each ingredient into the bowl and whisk to combine.
- Pour the mix into an airtight container and store until ready to use.
- TO MAKE CHOCOLATE PUDDING: Mix the milk and ½ cup of the pudding mix in a medium saucepan over medium heat. Bring to a boil and let boil for 1 minute.
- Reduce to low and allow to simmer while stirring constantly, until thickened, about 10 minutes.
- Transfer to a bowl and place plastic wrap directly on the surface of the pudding. Store in the refrigerator until ready to serve. The pudding will thicken as it cools.
Notes
- The pudding mix recipe makes about 3 cups total. Use ½ cup of the mix with 2 cups of milk to make one batch of pudding.

