Why This Crust Never Fails
Some recipes are like old friends. You can always count on them. This pie crust is one of those. It comes from Amish kitchens, where good food is a way of life.
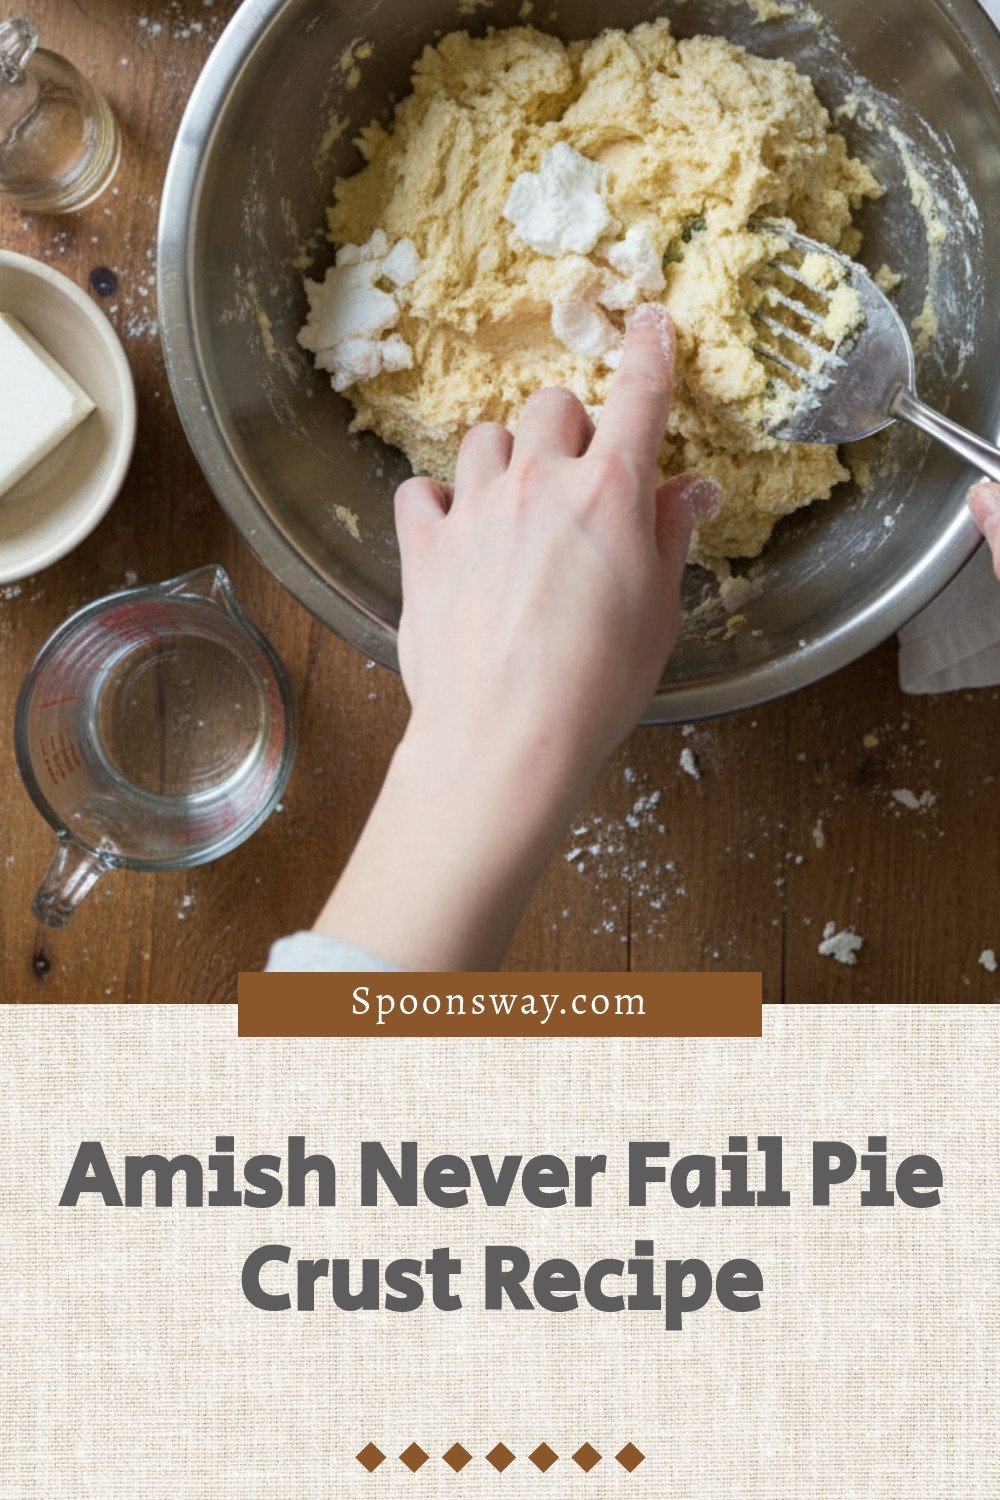
The secret is in the ingredients. The vinegar makes the dough so tender. The egg helps it hold together. I have never had this crust tear on me. That is why it is called “never fail.” It is a wonderful feeling.
A Little Story From My Kitchen
I taught my grandson to make this crust. He was nervous. He thought pie dough was too hard. We mixed it together, and his hands were sticky. He laughed.
When it came out of the fridge, it rolled out perfectly. His face lit up. He made a beautiful apple pie. Now he asks to make it every fall. That is the magic of a reliable recipe. It builds confidence.
How to Make It Your Own
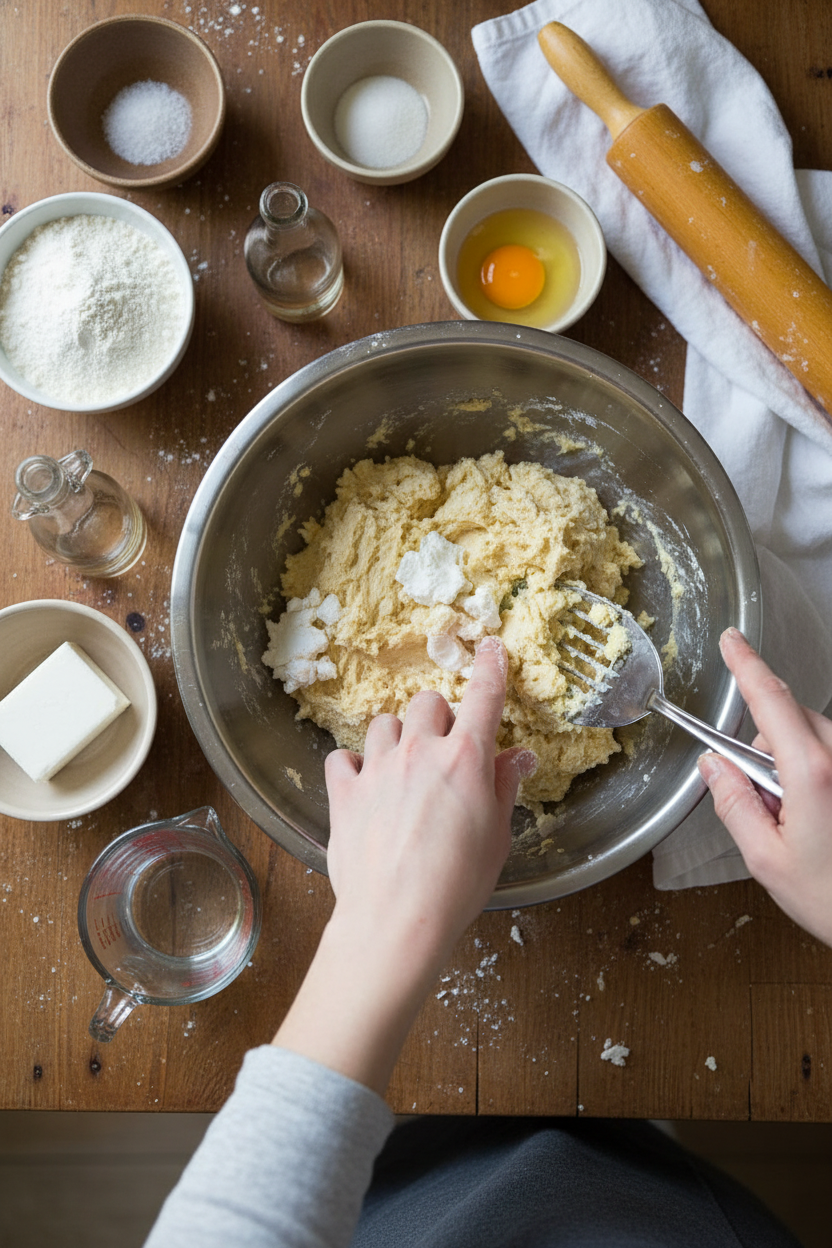
The instructions are simple. Pulse your dry stuff in the food processor. Then add the shortening. Pea-sized crumbs are what you want. See? Easy.
Then mix the wet stuff in a bowl. Pour it over your crumbs. Stir until it just comes together. Do not over-mix. The dough will be sticky, and that is okay. Wrap it up and let it rest in the cold. Patience makes a flaky crust.
Hot Pie or Cold Pie?
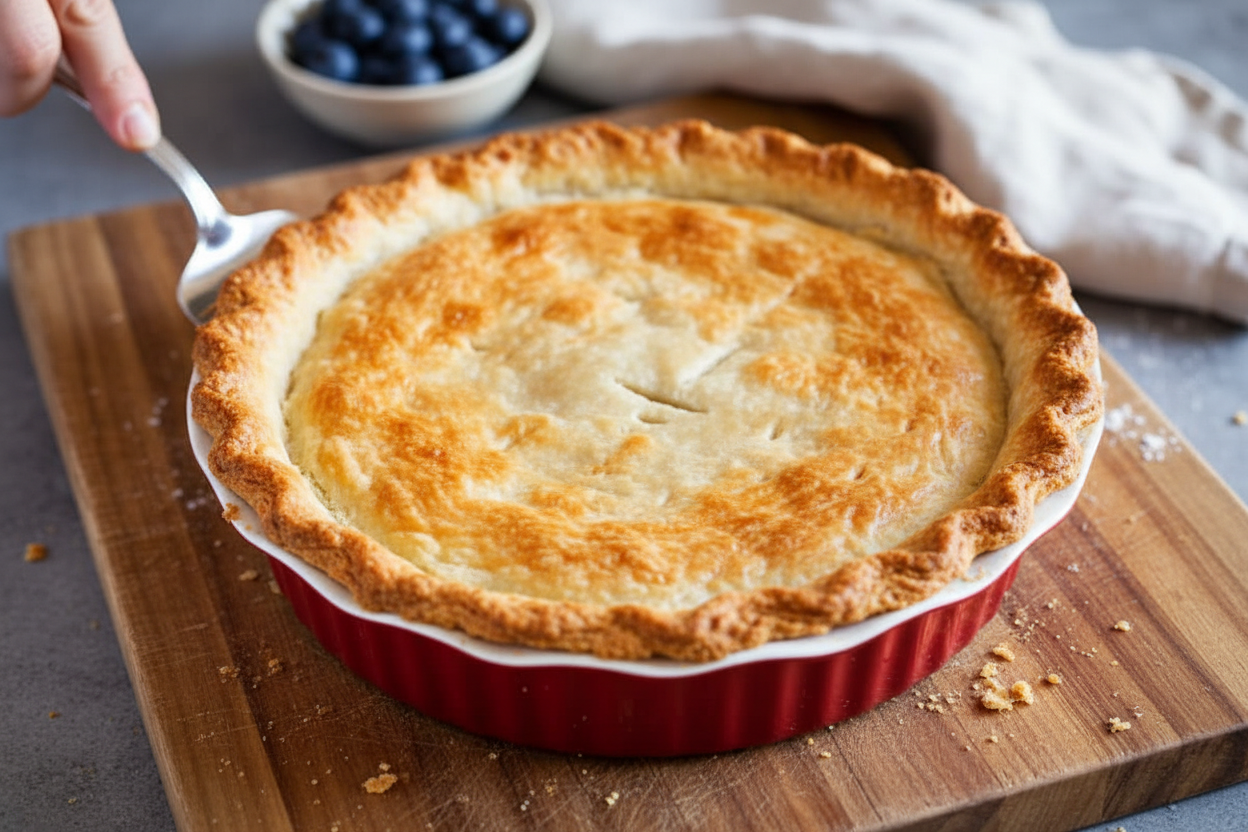
This dough works for both. For a hot pie, like apple or cherry, just roll and fill. Bake it right along with the juicy filling. The crust will get golden and flaky.
For a cold pie, like lemon meringue, you bake the shell first. You use weights so it does not puff up. Fun fact: You can use dried beans as pie weights. Then you can cook and eat them later! Do you prefer fruit pies or creamy, chilled ones?
Why This All Matters
First, making something by hand matters. It connects you to your food. You know every ingredient that goes in. That is a gift to your family.
Second, a good crust is the foundation. A great filling deserves a great home. This crust is that home. It is sturdy but tender. It holds memories in every flaky layer.
Let’s Chat About Pie
I would love to hear from you. What is the first pie you ever remember eating? Was it at a holiday or just a regular Tuesday? Tell me about it.
Also, what is your biggest worry when making pie crust? Is it the rolling or the transferring? Maybe we can solve it together. Share your thoughts with me.
Ingredients:
| Ingredient | Amount | Notes |
|---|---|---|
| all-purpose flour | 4 cups | |
| granulated sugar | 1 tablespoon | |
| kosher salt | 1 ½ teaspoons | |
| vegetable shortening | 1 ½ cups | cubed |
| large egg | 1 | beaten and room temperature |
| distilled vinegar | 1 tablespoon | |
| water | ½ cup | room temperature |

My Amish Friend’s “Never Fail” Pie Crust
Hello, my dear. Come sit at the table. I want to tell you about my friend, Anna. She was Amish. She taught me this pie crust recipe years ago. I still laugh at that name. “Never Fail.” She promised it would always work for me. And you know what? It really does. The secret is a little vinegar and an egg. They make the dough so forgiving. It rolls out beautifully every single time. Doesn’t that sound like magic?
Let’s make it together. You’ll need your food processor. It makes this so quick. But you can use a pastry cutter and your hands, too. I sometimes do that. It feels nice. Just pulse your flour, sugar, and salt together first. Then add the cold shortening. You want little pea-sized crumbs. It should look like coarse sand. (A hard-learned tip: Keep your shortening cold! I pop the cubed pieces in the freezer for 10 minutes first.)
Now, here are the special steps. Be gentle, like you’re tucking in a baby.
- Step 1: Move your crumbly dough to a big mixing bowl. Use a wooden spoon. I love the sound it makes against the bowl. It’s a cozy sound. In a small bowl, whisk your egg, vinegar, and water. Pour it right over the flour mixture.
- Step 2: Stir it all together with your spoon. The dough will look a bit shaggy and sticky. That’s perfect! Don’t worry. This is where the “never fail” part starts. Just mix until no dry spots remain. Quick quiz: What two special ingredients make this dough so forgiving? Share below!
- Step 3: Gather the dough into a ball. Wrap it tightly in plastic wrap. Now, patience is key. Let it rest in the fridge for at least an hour. This lets the flour relax. It makes rolling so much easier. I use this time to sip tea and dream of fillings.
- Step 4: Time to roll! Flour your surface and rolling pin generously. Divide your dough in half. Roll one half out to about ¼-inch thick. Gently lift it and lay it in your pie dish. Doesn’t that smell amazing? Like butter and promise. For a baked filling, just add your filling and bake. For a cold pie, like lemon meringue, you bake the shell first.
- Step 5: For a pre-baked shell, prick the dough with a fork. Line it with foil and add pie weights. I use dried beans from my pantry. Bake until golden. Let it cool completely before adding a cold filling. Any extra dough keeps in the fridge for days. I sometimes make little jam tarts with the scraps.
Prep Time: 20 minutes
Total Time: About 2 hours (with chilling)
Yield: 2 pie crusts (for a double-crust or two single pies)
Category: Dessert, Baking
Three Fun Twists on a Classic Crust
This crust is a wonderful blank canvas. You can dress it up so easily. Here are three of my favorite little twists. They make every pie feel special.
- Sweet & Spicy: Add a teaspoon of cinnamon to the dry ingredients. Perfect for an apple pie. It fills the whole kitchen with warmth.
- Herb Garden: Mix two tablespoons of fresh, chopped thyme into the flour. Use this for a savory chicken pot pie. It’s so comforting.
- Citrus Zing: Add the zest of one lemon or orange to the dough. This is lovely with a summer berry filling. It tastes like sunshine.
Which one would you try first? Comment below!
Serving It Up With Style
A beautiful pie deserves a beautiful presentation. For a fruit pie, I love a big scoop of vanilla ice cream. It melts into the warm filling. For a cream pie, a mountain of whipped cream is a must. Top it with a sprinkle of nutmeg or chocolate shavings. Serve slices on pretty plates. It makes dessert feel like a celebration.
What to drink? For the grown-ups, a small glass of sweet dessert wine pairs beautifully. It sips like honey. For everyone, a tall glass of cold milk is the classic choice. Or try sparkling apple cider. The bubbles are so fun. Which would you choose tonight?
Keeping Your Pie Crust Perfect
This dough is a dream to store. Wrap unused dough tightly in plastic. It keeps in the fridge for three days. You can also freeze it for three months. Just thaw it in the fridge overnight.
I love making a double batch. I freeze half for a future pie. It makes a busy day feel simpler. A ready crust is a gift to yourself.
I once baked a shell for a custard pie. It was a bit soggy. Now I always use pie weights for cold pies. A crisp crust makes every bite better. Have you ever tried storing it this way? Share below!
Fixing Common Pie Crust Troubles
Is your dough too sticky? Just add a little more flour. Sprinkle it on your hands and rolling pin. I remember when my dough stuck to everything. A light dusting fixes it right up.
Does the crust shrink in the pan? Make sure you chill it well. A cold crust holds its shape. This matters for a pretty, professional-looking pie.
Is the bottom crust soggy? Always use weights for a pre-baked shell. This creates a strong barrier. A crisp crust improves the whole pie’s texture. Which of these problems have you run into before?
Your Pie Crust Questions, Answered
Q: Can I make this gluten-free?
A: Yes! Use a good gluten-free flour blend. The vinegar helps keep it tender.
Q: How far ahead can I make it?
A: You can make the dough days ahead. Keep it wrapped tightly in the fridge.
Q: What can I use instead of shortening?
A: Very cold butter works. Your crust will have a richer, flakier taste.
Q: Can I make a smaller batch?
A: Absolutely. Just cut all the ingredients in half. It works perfectly.
Q: Any special tip?
A: Fun fact: The vinegar is the secret! It makes the crust extra tender and easy to roll. Which tip will you try first?
From My Kitchen to Yours
I hope this recipe becomes a friend in your kitchen. It has been in mine for years. Nothing beats the smell of a baking pie. It fills a home with love and warmth.
I would love to see your creations. Share a photo of your beautiful pie. Have you tried this recipe? Tag us on Pinterest! Let’s fill the world with homemade goodness, one crust at a time.
Happy cooking!
—Grace Ellington.
Amish Never Fail Pie Crust
Description
A reliable and easy-to-handle pie crust recipe, perfect for both baked and no-bake pies.
Ingredients
Instructions
- In the bowl of a food processor, pulse together the flour, sugar, and salt until combined.
- Add the shortening and pulse until pea-sized crumbs form.
- Transfer the dough to a large bowl and bring the dough together with a wooden spoon.
- In a small bowl, whisk together the egg, vinegar, and water.
- Pour the egg mixture over the dough and mix until combined (dough will be sticky).
- Wrap the dough with plastic wrap and let it chill in the refrigerator for at least 1 hour before rolling.
- For a hot pie (e.g., with a filling that needs to be baked): Divide the chilled dough in half on a generously floured work surface. Roll half of the dough to ¼-inch thick and transfer to a 9-inch pie dish. Repeat with the second half of dough if the pie is covered. Bake as instructed in the pie recipe. Wrap any remaining dough in plastic wrap and store in the refrigerator.
- For a cold pie (e.g., with a filling that doesn’t need to be baked): Move oven rack to the lowest tier and preheat oven to 375°F. Divide the chilled dough in half on a generously floured work surface. Roll half of the dough to ¼-inch thick and transfer to a 9-inch pie dish. Loosely fit aluminum foil over the lined pie dish and weigh down with pie weights, raw rice, or uncooked beans. Bake for 25 to 30 minutes. Remove the weights and foil and continue baking for 10 to 12 minutes until golden brown. Fill and chill according to the recipe.
Notes
- This recipe makes enough dough for a double-crust 9-inch pie. For a single-crust pie, you can freeze half of the dough for later use.

